

Proactive Security and Seamless Integration

Enhanced Operational Efficiency

Scalable and Adaptable Solutions
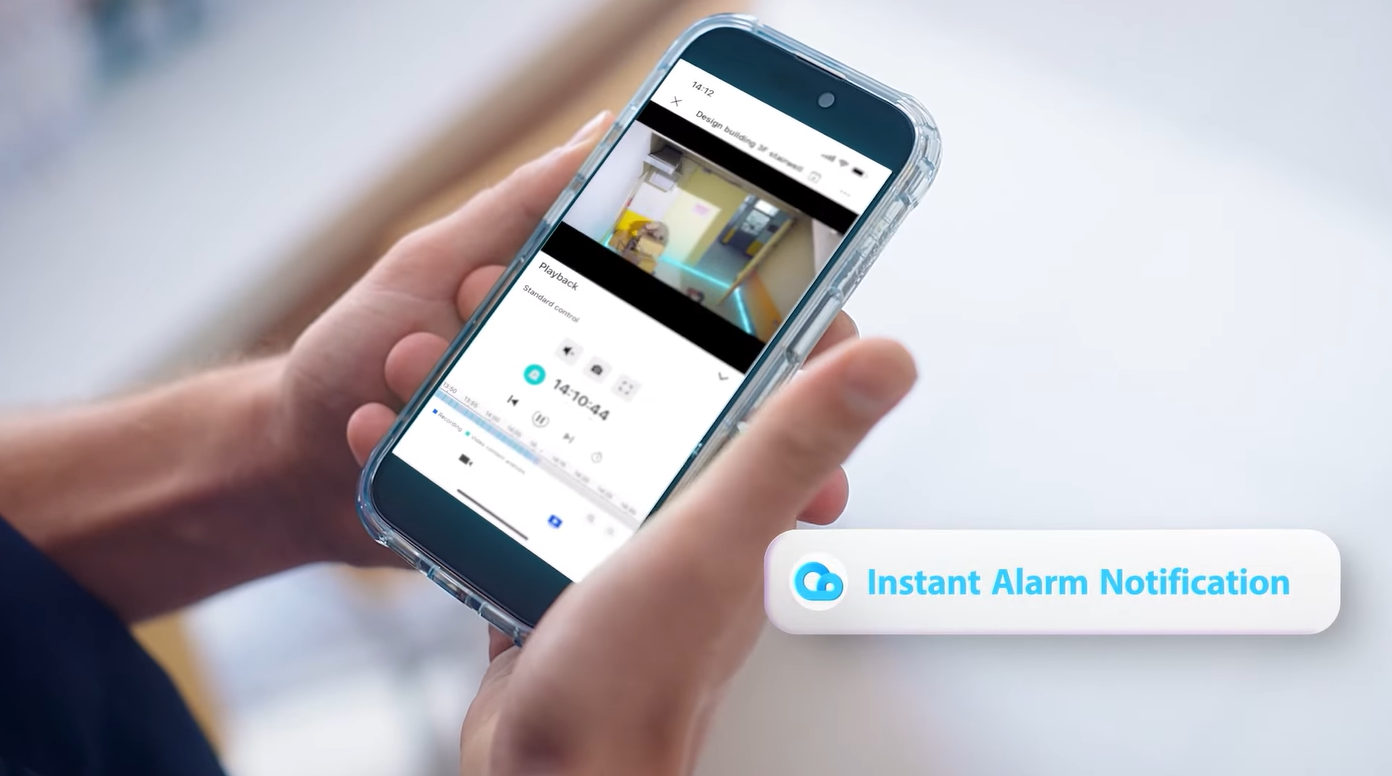
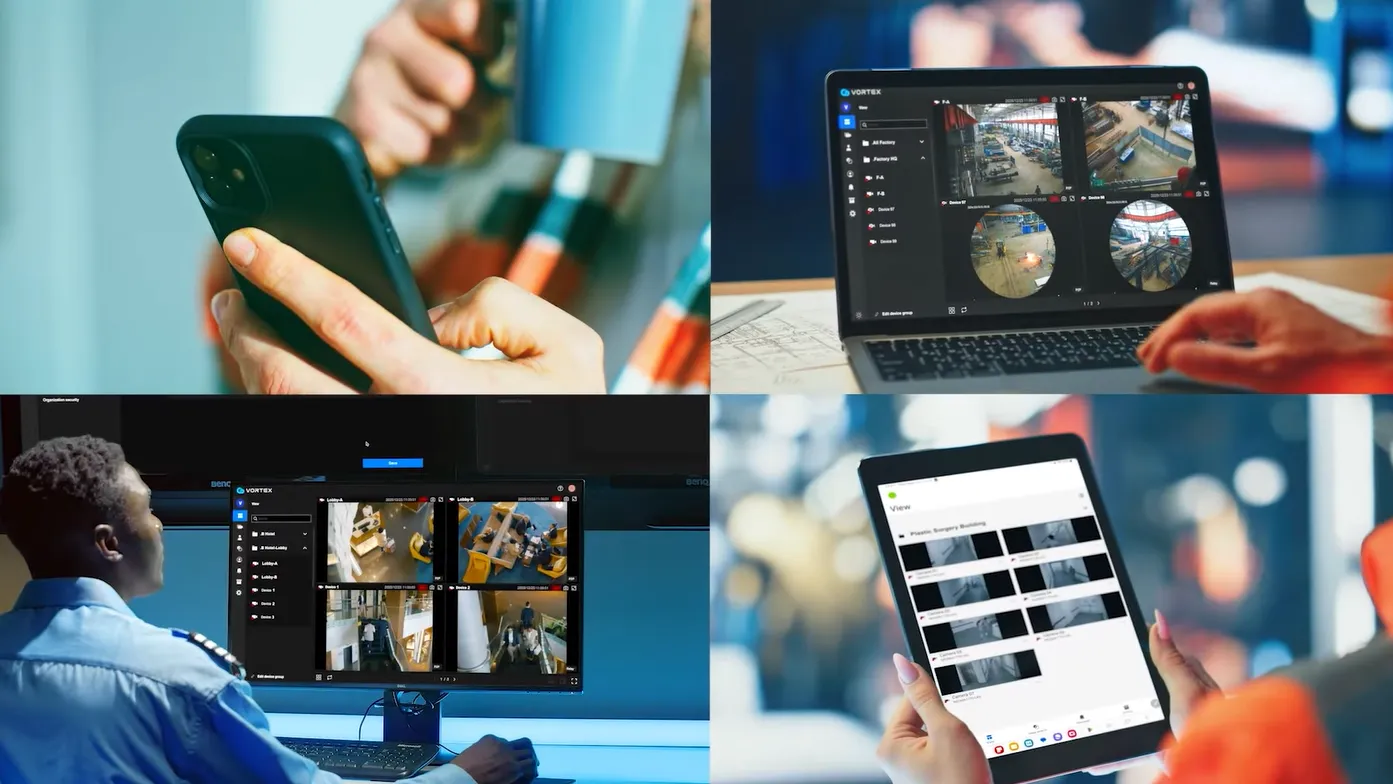
Centralized and automated monitoring enables real-time threat detection, reduces reliance on physical personnel, and ensures rapid response to incidents.

Connects through the Bridge Gateway, enabling unified control within the VORTEX platform.

Unified control and automation streamline security operations, lower costs, and improve system performance across multiple devices.
Seamless integration with VORTEX Certified third-party hardware allows easy expansion and adaptation for various environments and IoT ecosystems.
-
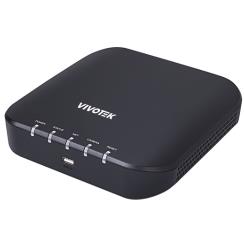
VORTEX Bridge is a dedicated firmware version of RX9502 that transforms the device into a “peripheral connection hub,” enabling VIVOTEK Network Speakers and PoE Switches to be managed directly through the VORTEX Cloud Platform. Once the Bridge firmware is installed, the RX9502 will no longer function as a Video Receiver.
-
No. Once upgraded to the Bridge firmware, RX9502 will only support cloud-based bridging functions. The original video decoding features will be removed.
-
Each VORTEX Bridge (RX9502) can connect up to 50 peripheral devices.
Currently supported peripherals include VIVOTEK Network Speakers and VIVOTEK PoE Switches.
Only Network Speakers require an add-on license, and this functionality is exclusive to xPro and xStd subscriptions. Please consult the Pricing Plan for detailed information.
1. VORTEX Bridge (RX9502)
⦾ License: Not required
⦾ Features:
― Remote device management
― Remote firmware update (OTA)
― Connect up to 50 peripherals
― Note: Original Video Receiver features are removed after conversion
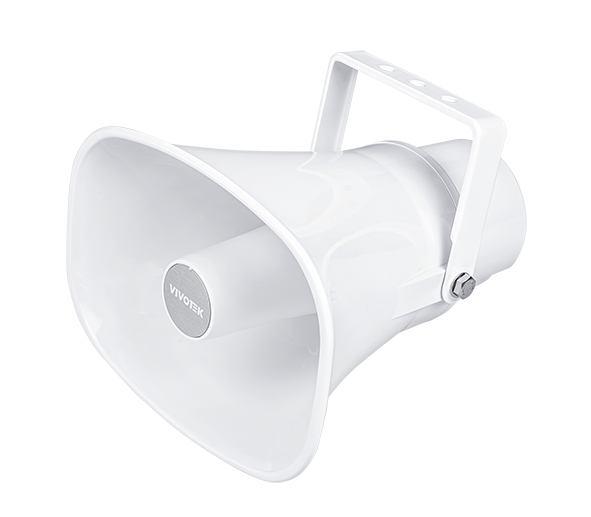
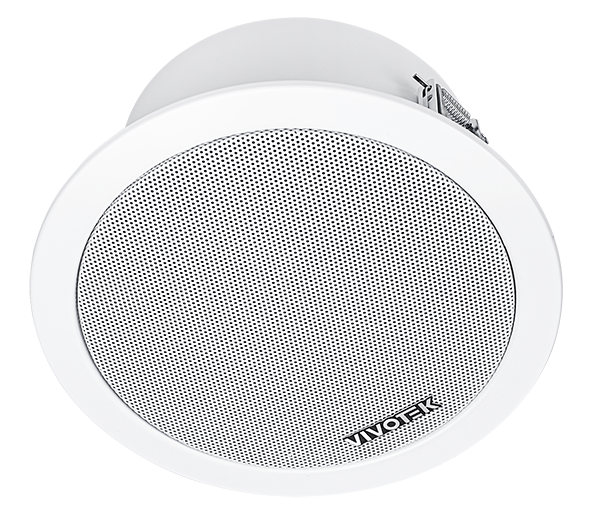
2. VIVOTEK Outdoor/Indoor Network Speaker – AU-003 / AU-004
⦾ License: Add-on license required
⦾ Features:
― Play pre-recorded messages
― Talk-down
3. VIVOTEK PoE Switch Series
⦾ License: Not required
⦾ Supported Models:
― Commercial – Lite Managed: AW-GEV-108A-130, AW-GEV-288A-370
― Commercial – L2 Managed: AW-GEL-065A-060, AW-GEL-105A-110, AW-GEL-205A-260, AW-GEL-285A-380
― Industrial: AW-IHB-1040
⦾ Feature:
― Remote power cycle for connected devices
Notes:
• For more information about license pricing, please refer to the Pricing Plan or contact your local system integrators (SI) or authorized VIVOTEK partners for details.
• Future VORTEX Bridge firmware updates will expand support to additional peripherals, including third-party brands. -
A. Use VIVOTEK Shepherd to locate the RX9502’s IP address within your LAN.
B. Access the local Web UI and navigate to System → Maintenance → Import firmware.
C. Upload and install the VORTEX Bridge firmware. Once the installation is complete, the device will operate as a Bridge.
For detailed steps and download links, please refer to the document: “Using RX9502 to Bridge VIVOTEK Network Speaker on VORTEX. -
In the VORTEX Web Portal: Go to Device → Add Device → Network Speaker / PoE Switch, then select your Bridge device. The Bridge will automatically search for peripherals on the same LAN. Click Add, enter the authorization credentials, and complete the pairing process.
-
― Verify that both the Bridge and the peripheral are online and accessible from their local web interfaces.
― Confirm both devices are updated to the latest firmware versions.
― Ensure the Bridge and the peripheral are on the same subnet. -
First, associate the Network Speaker with a camera from the Device page. Once linked, a microphone icon will appear on the camera’s live view page in both the Web Portal and Mobile App. Click the icon to start real-time two-way communication.
-
If your organization uses a Data Loss Prevention (DLP) system, the Speaker’s IP address may be blocked from audio streaming. Ask your IT department to whitelist the IP address of the Network Speaker to resolve the issue.
-
You can upload up to 10 audio files in WAV or MP3 format, with a total size limit of 4 MB.
-
In the VORTEX Web Portal: Navigate to System → Alarm Management. Click Add Alarm. In the Actions step, select Audio Deterrent. Choose your Network Speaker and the desired audio file to be played automatically when the alarm is triggered.

Discover the related blog posts, customer success stories and events.